I’ve been trying to figure out how to get the best pictures I can in order to show them on here as well as on MakeupTalk.com. With a little help from Google and Leticia over at Cosmetics Aficionado with her Point and Shoot Camera Photo Guide for Bloggers post, I was able to come up with a plan!
I don’t have a lot of natural light available to me due to the placement of my apt windows (I have a grand total of two, count them, two windows in a 1300 sq ft apt) and even going out on the patio didn’t yield very good results. Enter my friend Josh and Google as my saviors and within a matter of minutes, I found out I needed a couple desk lamps and tent light. Even better, I could make one myself!
So I did!
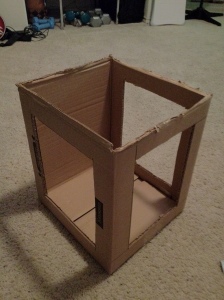
I forgot to take a pic of the box before I cut out the sides but here it is. I measured 2 inches around on 3 sides and cut them out with an exacto knife. I so recommend that if you do this, don’t use a box that is quite as “thick”as this one was. It was a bit of pain to cut out cleanly. Once the sides are all cut out, cut off the top flaps but leave the bottom ones intact.
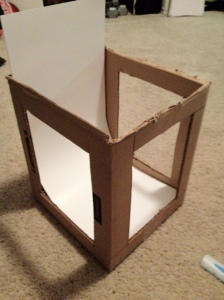
Measure the inside and cut out a piece of posterboard slightly longer than the box. Make sure it butts up against the front of the box and curves up. I put a piece of tape on the box back to keep the front of falling forward and then cut off the excess.
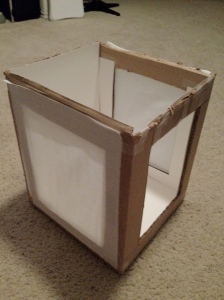
Measure and cut out white fabric squares to attach to the sides.
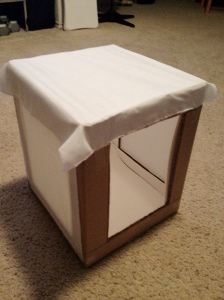
Now attach a piece of fabric to the top to completely enclose it.
Voila, one tent light and it cost a whole $5 and about 2 hours of your time.
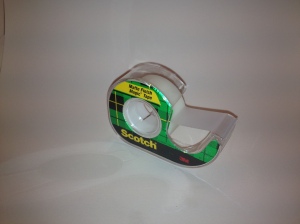
Pic with a desk lamp pointing down the top of the box (NOTE: you can flood the box with light by putting lamps pointing at each side as well as the top. This pic is only with the one and not with the most ideal bulb. The best results with be yielded with a “Daylight” bulb which I will be picking up this weekend.)
Pic with a desk lamp pointing down the top of the box and camera flash:
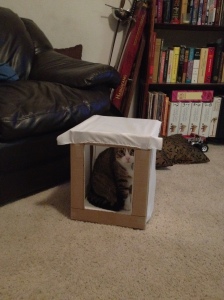
All in all, I am pretty proud of my little DIY project and it even gets feline approval!




Bill Chance
February 11, 2012 at 12:25 am
I’m working on getting some photographs of my fountain pens – your idea for a light tent looks great! I think I’ll make one of these – without the cat.
Thanks for sharing.
Pancua
February 11, 2012 at 12:27 am
You are welcome!
I got the idea from a photography site actually so all the credit goes to them but it seems to have worked out quite well!
Good luck with your shoot! 🙂